
Now that the Phoenix area has started to cool off for the year, it’s that time again to dig out the hiking boots and hit the trails! One of the hikes in the area that really stands out to me is Camelback Mountain.
This urban trail is not your typical climb and has a lot of really fun elements to it. It’s very technical so you must be prepared before attempting.

Usually when it comes to hikes, I much more prefer the remote trails where you really feel like you’re out in nature. You definitely don’t get that vibe on this trail. You’re likely going to be hiking with lots of other people with city views the entire way.
But, I have to say I really did enjoy hiking Camelback. It was fun, it made me feel like a kid climbing up rocks in a jungle gym.
If this sounds like something you’re interested in trying out then keep on reading!
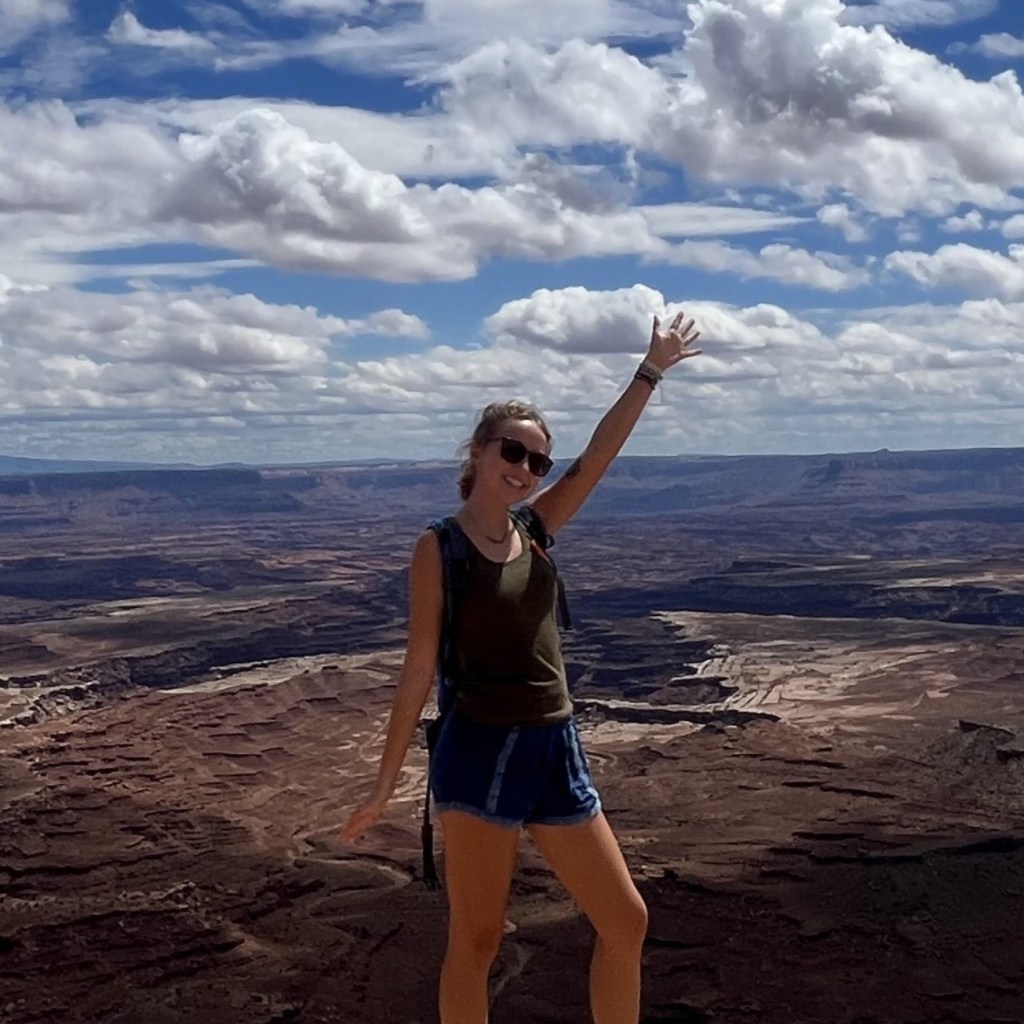
Pin this post for later!

Where is Camelback Mountain?
Camelback Mountain is located in the Scottsdale area, northeast of downtown Phoenix. It’s right smack dab in the middle of the city.
The mountain backdrops Camelback Resort, a popular place to stay in the area.
Because of its location, this hike is very accessible to people visiting the Phoenix/Scottsdale area. You can easily reach the Echo Canyon Trailhead via public transportation.
Hiking Echo Canyon vs. Cholla Trail to Camelback Mountain
There are actually two trails that lead you to the top of Camelback Mountain.
Each trail offers a unique experience to the summit. They are both challenging in their own way.
Echo Canyon Trail
The trailhead starting on the west side of the mountain is the Echo Canyon Trail.
This seems to be the more popular of the two.
There is a large parking lot at the trailhead with an even larger overflow lot adjacent to the main parking area.
There are bathrooms on site as well.
From trailhead to summit this comes out to be a 2.5 mile round trip.
Hiking to the summit from Echo Canyon is definitely not easy, but there are handrails and fences built in at the most challenging parts to make it easier and safer for us.
This trail is also marked way better than Cholla.

Cholla Trail
The trailhead starting on the east side of the mountain is the Cholla Trail.
This side of the mountain is less popular for hikers so if you want less crowds on your hike, this may be the way to go.
There is not much parking at this trailhead, but there are bathrooms.
If you take the Cholla Trail to the summit you’re looking at a 3 mile round trip. A slightly longer distance than Echo Canyon Trail.
There are some more sketchier rock scrambling sections on this trail than there are on Echo Canyon.
Which One is Better?
Both trails have their pros and cons, but if this is your first time hiking to Camelback Mountain, I would recommend taking the Echo Canyon Trail.
Since this trail is easier (I say this very loosely because by no means is this an easy hike) I think it would suit a newcomer better to the summit.
It will give you an idea on how this hiking trail is before you try taking the Cholla Trail.
Trail Stats
| Mileage | Elevation | Duration | Difficulty |
|---|---|---|---|
| 2.5- 3 miles depending on route | 1,480 ft. | 2.5 hours | Hard |
As you can see from above, the relatively short mileage and large elevation gain make for a tough climb.
Expect this trail to be rocky with some moderate rock scrambling throughout. If this is your first hike ever, it might not be a good fit.
But if you’re a frequent hiker and are in decent shape, you should be able to complete this trail with no issues.

Best Time of Year to Hike
November-May
I’m putting this in here because so many people who visit Phoenix do not understand the dangers of hiking in the summer months (June-September).
Especially on a hike like this, you DO NOT want to attempt this hike in the heat. People die every year because they don’t know how quickly and intensely the heat can catch up to them in the valley.
So I would recommend only attempting this hike between the months of November through May. If you get a cool day in October (less than 90℉) then go for it, but usually October in Phoenix can still be pretty hot.
Same with May. This is when the city starts to see temperatures heat up so if you get a nice and cool day in early May, then go for it.
Fees Required?
No. It is free to hike Camelback Mountain. Echo Canyon Recreation Area does not charge any fees to enter.
This is one of the best free hikes in Phoenix!
Gear Needed for Camelback Mountain Hike
- Hydration pack with at least 2L of water per person
- Sturdy shoes (I preferred my trail runners instead of my clunky hiking boots on this hike, it made it easier to rock climb)
- Trekking poles (optional, I didn’t use them, but we did see quite a few hikers with them. If you have knee issues I would definitely recommend having poles)
- Snacks
- Gloves (optional, I didn’t have these either, but I did find myself gripping and holding onto the rocks many times. By the end of the hike, my palms were dusty and hurting from the sharp rocks)
- Hat to keep sun out of your eyes and off of your head
Beginning the Echo Canyon Trail
Now for my review of the hike, I will be breaking down the Echo Canyon Trail, because this is the trail that most people would take to Camelback Mountain. And, this trail is better suited for your first time hiking here.
Once you get on the trail, you will begin going up a steady incline. The trail is wide and not very rocky yet.

You’ll be surrounded by the canyon walls with cave-like holes formed all over the rock. Very characteristic of the rock formations in this area of Phoenix. Similar to what you’d see at Papago Park.
First Steep Incline Around 0.5 Mile
As you reach the 0.5 mile marker you will begin the first steep ascent. My first time hiking this trail, I was shocked. I wasn’t expecting something like this.
This short section of the trail is built on some slick rock where, thankfully, handrails have been built in.

If you want to know the easiest route on this section, you’re going to want to hike on the far left side along the fence because there are foot holds built into the rock for easier stepping.
If you want more of a challenge, you can use the middle railing and use your upper body strength to pull yourself up on the sections of rock that don’t have good foot holds built in.
Rock Climbing to the Summit
The trail flattens out for a moment before you begin the next steep incline.
For your next big climb, you’ll see a crevice in the rock filled with boulders. This is where you’ll be hiking.

I used my hands a lot in this section because sometimes it was hard to get my short legs up on the massive rocks!
This part is pretty hard, we stopped one or two times on this section alone just to catch our breath.
But once you make it to the top, you have just a few more steep sections to conquer before reaching the summit.
The rest of the hike is very similar to that last climb with the boulders. It’s pretty much all just the same thing. There are some more tricky sections that will require you to think carefully before placing your hands and feet.

You just have to follow the trail markers (there are 36 in total) that will lead you up to the summit.
So when you begin to see numbers in the 30’s, just know you’re almost there!
Camelback Mountain Summit
From the top you can see many landmarks of the area including Papago Park, Phoenix Mountains Preserve, Sky Harbor Airport, McDowell Mountain, and the famous Camelback Resort.
It’s one of the best viewpoints of the city you can get and definitely worth the tough climb.

If you hike this trail on a weekend, you’re bound to see tons of people crowding the summit.
We began this hike around noon on a Wednesday and only met a handful of people at the top.
Tips for Hiking Back Down Camelback Mountain
There isn’t anything too special about hiking back down, but I always find it more difficult than going up.
You have to be much more careful with your footing because one wrong step and you can fall down getting seriously injured due to how steep it is.
I ended up using my hands a lot when coming down. It’s kind of hard to describe, but what worked best for me was to squat down, place both my hands on rocks beside me and swing my legs down below me before releasing my hands.
This made it easier to keep my balance and I felt more comfortable getting down lower when descending the mountain.
I also ended up crawling down some steep sections of rock on my butt. Hey, it’s better than falling right?
So my best piece of advice is to take it slow, especially if it’s your first time hiking here.

The railings are super helpful going down as well because the rocks can be a little bit slippery.
You’re likely to see some people running down, these are the people who hike this mountain all the time.
Only go as fast as you’re comfortable with.

That concludes my complete hike guide to Camelback Mountain! If you like to spend most of your time on the trails like I do, this is a must do when around the Scottsdale area.
If you’re a little hesitant to try out an urban trail like this one if you prefer more remote hikes, I can assure you this is totally worth doing once.
Out of all the city hikes in Phoenix, this is my favorite. I definitely favored it over Piestewa Peak, which is another popular hike nearby. The Echo Canyon Recreation Area is such a cool place to explore!
I hope you enjoy this hike as much as I did and thank you for reading!


Leave a Reply